How To Install The Quail Layer Cage System Step By Step
With the development of breeding technology, more and more farmers choose to use cage systems for quail egg production. Compared with traditional ground free-range breeding, quail layer cage has obvious advantages in saving space, increasing egg production rate, and facilitating cleaning and management. So, how to build a quail egg cage system scientifically and efficiently? This article will break down each step of the installation process in detail to help you easily start the road to large-scale breeding.
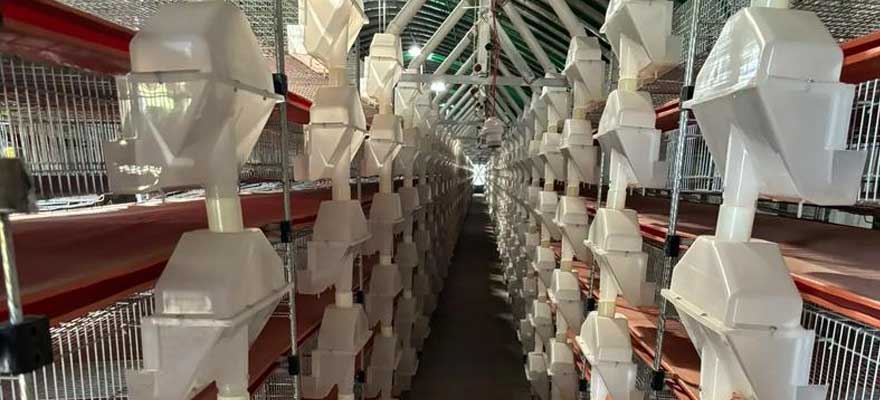
Why use a layer cage system to raise quails?
.jpg)
The main advantages of using quail egg cages include:
- High space utilization: multi-layer structure is stacked vertically, and more quails can be accommodated per unit area.
- Improve egg production efficiency: light, temperature, and water control are more centralized and stable.
- Easy to manage hygiene: layered manure removal reduces the risk of disease transmission.
- Reduce labor costs: equipped with automatic feeding and drinking water systems to save manpower.
- Easy to observe and manage: sick quails can be quickly identified, and breeding parameters can be adjusted.
Therefore, the egg-laying chicken cage system has become the standard configuration for commercial quail breeding.
Preparations before installation
1. Determine the scale of breeding
Before formal construction, first determine the number of quails planned to be raised. For example:
- Small-scale family breeding: 100~300.
- Medium-sized breeders: 500~2000.
- Commercial farms: more than 5000.
This will determine the number of cages you need, the number of layers, and the configuration of the supporting system.
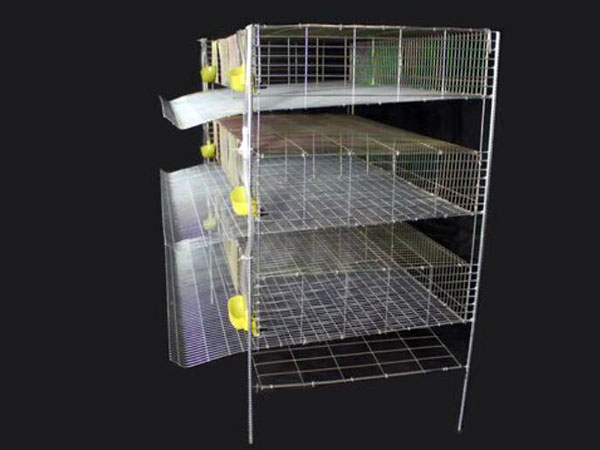
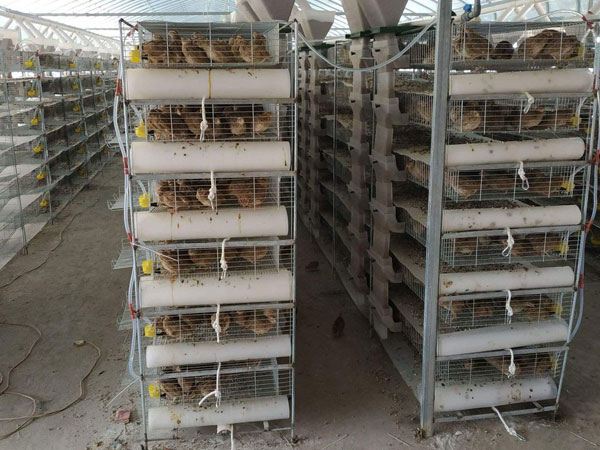
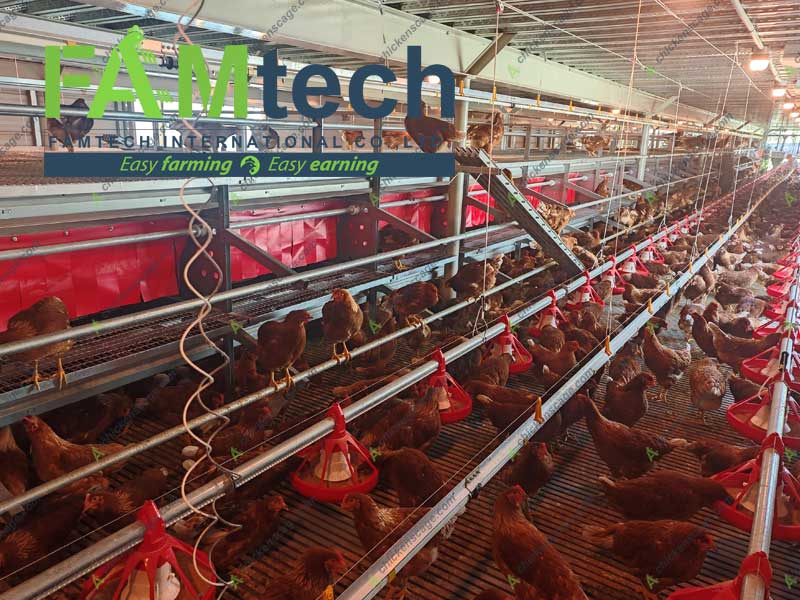
2. Choose the right cage type
Common specifications are:
- Three-layer and four-layer structure.
- Each cage can accommodate 30~50 quails.
- The materials can be hot-dip galvanized iron wire, stainless steel, plastic-coated steel wire, etc.
It is recommended to choose cages with strong corrosion resistance, stable structure, and easy cleaning.
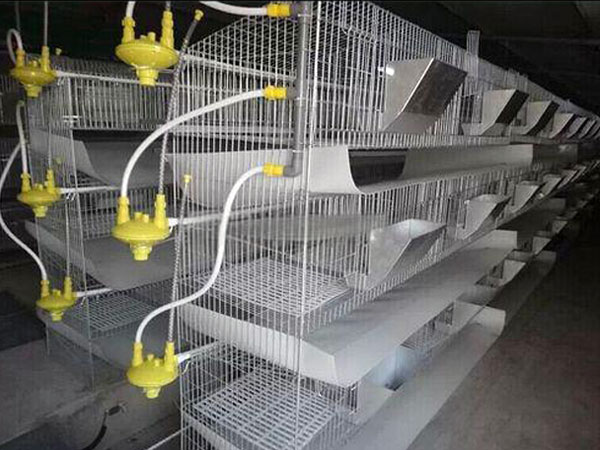
3. Supporting system preparation
- Automatic drinking water system: nipple drinker + water pressure regulator.
- Feeding system: manual feed trough or automatic feeding belt.
- Manure cleaning system (optional): manure board, manure scraper, automatic winch.
- Lighting equipment: LED lights are used to control the light cycle.
- Ventilation equipment: exhaust fans suitable for confined spaces.
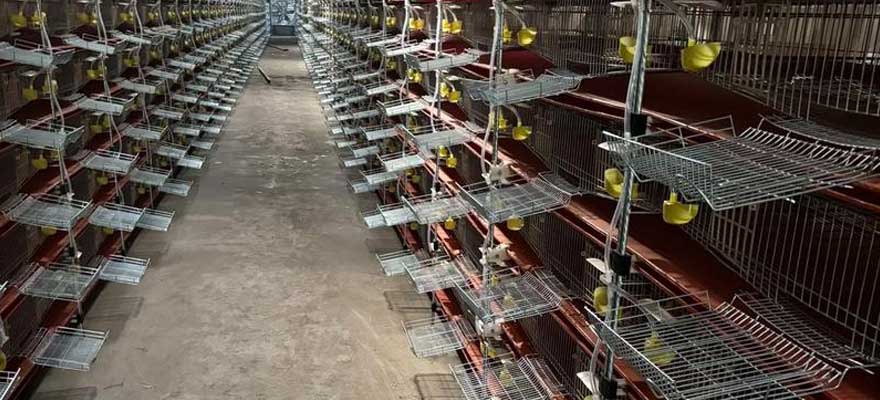
Quail layer cage installation steps
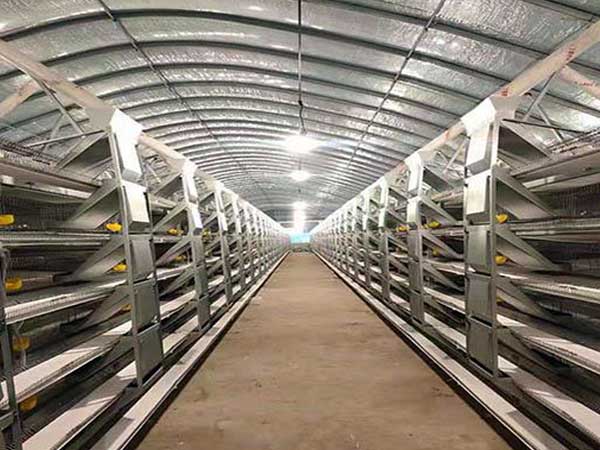
Step 1: Choose a suitable site
.jpg)
.jpg)
It should be sheltered from the wind and facing the sun, with smooth drainage.
It is recommended to lay moisture-proof and anti-corrosion floors for indoor breeding.
Keep the site flat for stable placement of cages.
Step 2: Assemble the cage body
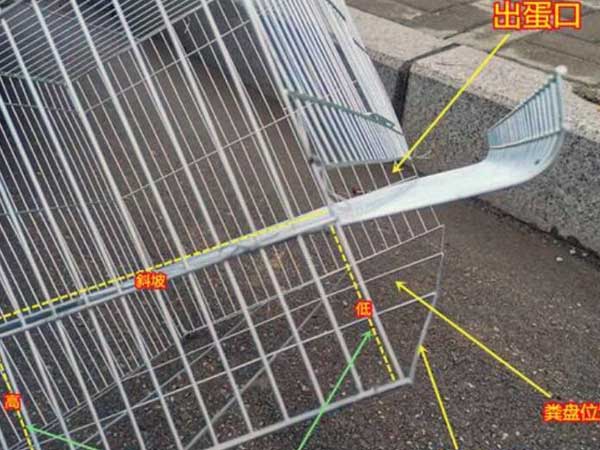
Fix the mainframe according to the manufacturer's instructions.
Clip each layer of the cage into the frame.
Check whether each layer is firmly connected to avoid shaking.
Step 3: Install the drinking water system
Connect the nipple drinker pipe.
Install a water tank or water pressure regulator to ensure constant pressure.
Check whether each drinking port is unobstructed and leak-free.
Step 4: Install the feeding system
Fix the feed trough in front of each cage.
Ensure that the quails will not waste or step on the feed when eating.
If an automatic feeding system is used, the motor needs to be connected, and the running speed needs to be adjusted.
Step 5: Configure the manure treatment system
If manual manure removal is used, a manure tray or sliding manure plate can be placed.
For automatic manure scraping belts, the guide rails need to be laid in advance, and the winch needs to be connected.
Check whether the manure removal is smooth to avoid accumulation.
Step 6: Install lighting and ventilation equipment
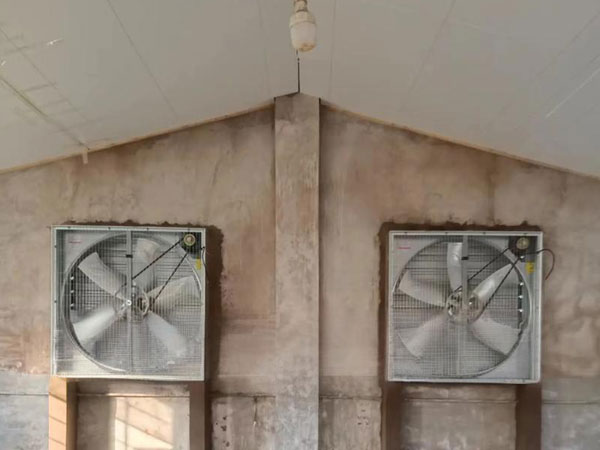
Set the daily lighting duration (recommended 14 to 16 hours).
Ensure good ventilation, but avoid strong wind blowing directly on the quails.
In summer, fans can be installed, and attention should be paid to heat preservation in winter.
Debugging and trial operation
After installation, the following tests need to be carried out:
- Check whether the drinking water system is leaking or blocked.
- Whether the feed trough is stable and evenly distributed.
- Whether the manure removal system is running smoothly.
- Whether the power equipment, such as lighting and ventilation, is running normally.
After 1 to 2 days of trial operation, the cages will be officially put on.
Management suggestions after production
1. Before quails are caged
Cleaning and disinfecting the cage thoroughly.
Check that each layer of the drinking water system is unobstructed.
Control the temperature to a suitable environment for quails (20~26°C).
2. Management during the adaptation period
Provide high-quality, high-protein feed.
Maintain 16 hours of light per day in the initial stage.
Observe the behavior and feces changes of quails, and adjust environmental parameters in time.
3. Daily maintenance
Check whether the drinking water pipes and feed troughs are blocked every day.
Clean the manure tray regularly or run the manure scraping system.
Clean the dust every week to prevent the equipment from aging.
Common problems and solutions
The water dispenser is dripping or blocked. Pipeline pressure is too high or blocked by impurities. Clean or replace the water supply and adjust the water pressure
Quails fight and peck feathers. Light is too strong, or the density is too high. Reduce light and reduce density appropriately.
Eggshell thinning, egg production rate. Feed nutrition is incomplete, or environmental stress. Supplement calcium source and optimize the ambient temperature
Installing a suitable quail egg cage system can not only improve breeding efficiency but also reduce management difficulty and operating costs in the long term. Through scientific planning, standardized installation, and daily maintenance, you will have a high-yield, hygienic, and energy-saving modern quail egg production system.
- Cabinet Incubator
- Battery Cage
- Poultry Farm Design Solutions
- Layer Poultry Farm Design For 5000 Birds
- Poultry House Plans For 10000 Chickens
- Broiler House Design For 50000 Birds
- Poultry House Plans for 1000 Chickens
- Poultry House Plans For 5000 Broiler Chickens
- 20000 Layer Poultry House Design
- 50000 Layer Poultry Farm Design
- 40000 Layer Poultry Farm Design
- 100000 Chicken Layer House Design
- 30000 Layers Housing Design
- Chicken Cages
- Poultry Farm Equipment
- Other Poultry Cages
- Egg handling equipment
 Aviary Housing Project In The United States
 A 5-tier H type layer cage system installed in West Africa
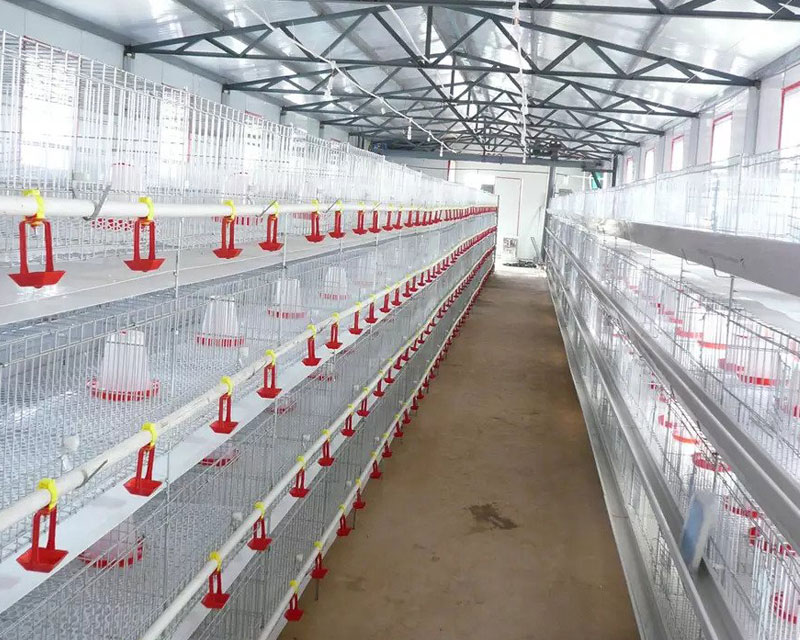 4 Tier H Type Broiler Cage Project In South Africa
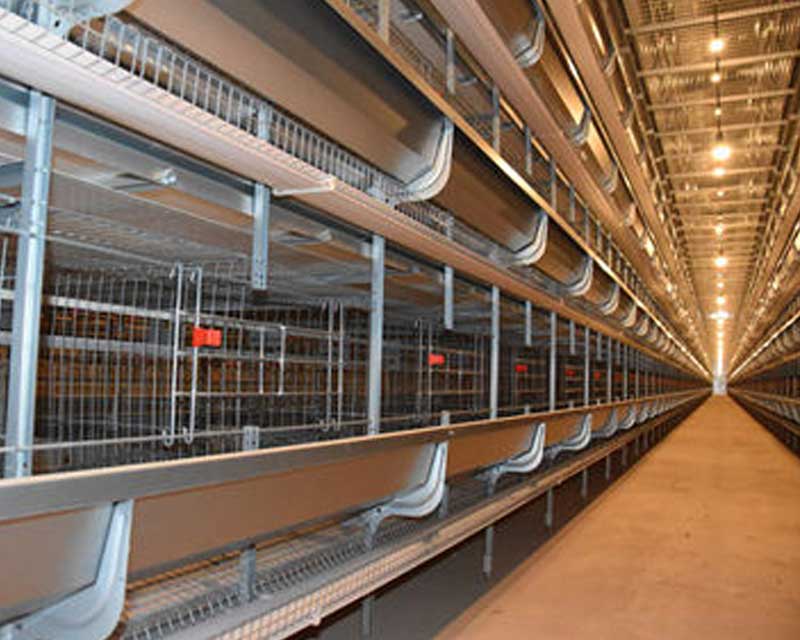 Layer Cage Project In Cuba
 H Type Layer Cage Project In Southeast Asia
 A Type Layer Cage Installed In West Africa
- info@chickenscage.com
- +86 18937276336
- 1103 Room, 11th Floor, Lande Centre, Huayuan Road, Zhengzhou, Henan, China